No one could have asked for better weather for their wedding weekend. Ali & Matt soaked it all in and we had a wonderful time capturing every moment.
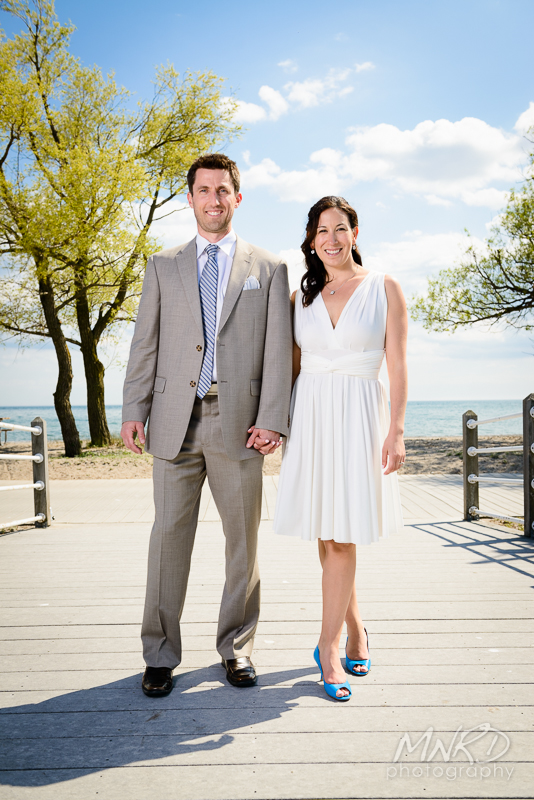
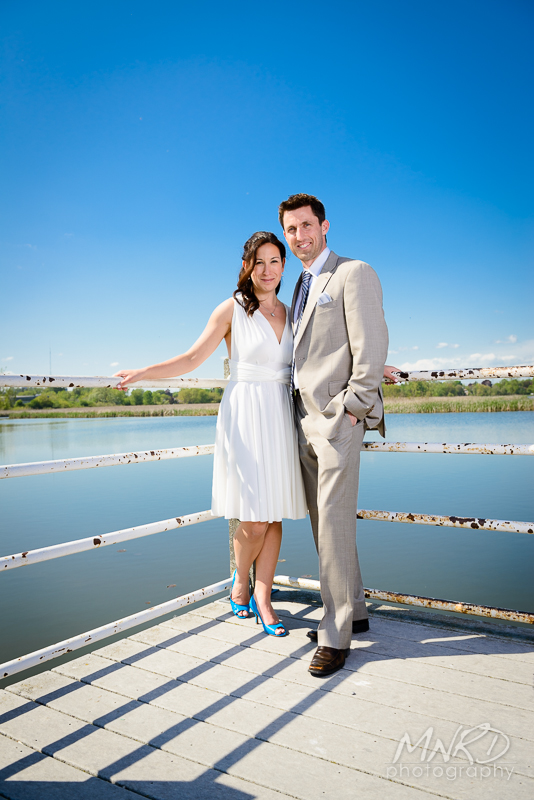
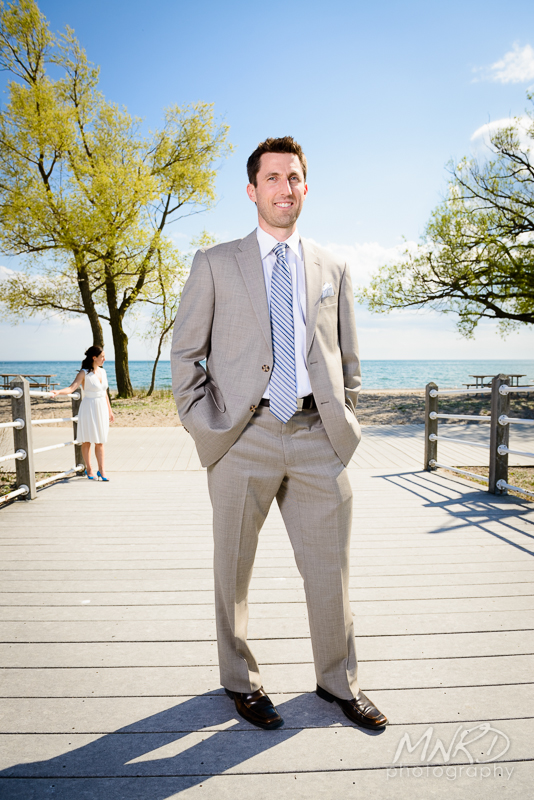
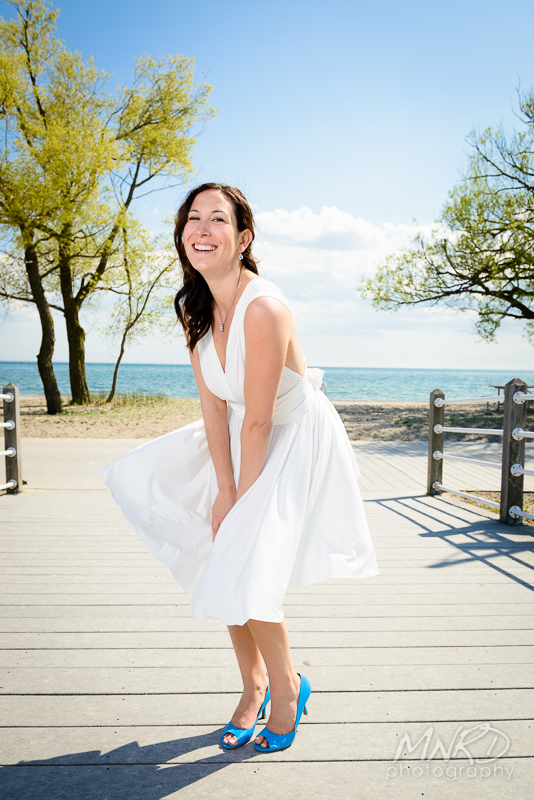


No one could have asked for better weather for their wedding weekend. Ali & Matt soaked it all in and we had a wonderful time capturing every moment.
We shot our first wedding of the Summer this past weekend with the always stunning Desiree & Tyler. Their complete trust in us made this already wonderful day even more special. And for the icing on the cake, the couple announced that they are expecting! So we will hopefully be seeing more of them very soon. What a spectacular start to the wedding season…


When it comes to getting great exposures, the more you leave up to your camera to decide, the more your camera will likely get it wrong. The more you take control, the more you’ll learn and the better the results will be. This is why most Pros shoot in Manual mode, so they have full control over their exposures. If you aren’t quite there yet, here is a tip to start compensating for your camera’s shortcomings when shooting in P, A/Av, or S/Tv modes.
Exposure Compensation allows you to adjust for your camera’s metering system when it gets the reading wrong (although technically, right). This happens most often with an overly bright or overly dark scene, and sometimes it does this as if on a whim. If the camera sees too much dark, it will automatically compensate for it and make it brighter. And if it sees too much brightness, the opposite will occur, you’ll get a darker exposure. Oftentimes the easiest way to correct for this is to use exposure compensation to trick the camera into getting it right.
Example: Have you ever taken a picture only to have the resulting image come out with what seems to be a grey wash over the entire thing (like the image below)? Well, this is your camera’s metering system getting it wrong (although technically, right). It “sees” so much brightness that it figures it should darken it in order to achieve a “middle grey” exposure… Camera Fail! To compensate for this, you’ll want to use some + exposure compensation to brighten it up. How much should I use, you ask? Well, that depends on the overall scene, but a good starting point would be +1. Not enough? Add some more. Too much? Take a bit off. That is the beauty of learning on a digital camera… You don’t have to pay for each exposure like we had to when we shot film.

The camera saw so much white in this shot, that it darkened it down to what it thought was the proper exposure...

To compensate for the fact that my camera got the light wrong in my first shot, I dialed in +1 EV (i.e. Exposure Compensation) on my camera and it brightened it right up.
Another example: Have you ever tried to take a picture of the moon? How did that work out for you? Big, bright, blown out white blotch where that nicely detailed moon was supposed to be? Black sky now kind of grey-ish? Yup. Thought so. Usually this is an exercise in frustration for new photographers, but if you can learn to think like your camera, you’ll be able to balance out its shortcomings. In this case, the camera is seeing an abundance of black (the night sky) and a smaller bright spot (the moon), so it thinks the scene is too dark and wants to brighten up the exposure. The fix? Simply use some negative exposure compensation to right the ship.
If every picture tells a story, then the histogram kind of serves as the synopsis to that story. The histogram is that funky-looking graph thingy that you see when you press the info or disp button on your camera (or when you press up on the navigation pad, in the case of Nikon users) when reviewing your pictures. The histogram is a graph that visually shows you the exposure of any given image and can be used to verify that you got a well exposed shot. This can come in quite handy when you are out shooting in bright sunlight (which isn’t the best idea, remember) because the screen on the back of your camera becomes harder to see, making it extremely difficult to tell if you got a proper exposure. Enter the Histogram (Oooooohhhhh. Sounds like a Bruce Lee movie filmed in The Matrix). Because the histogram is easier to see on the back of your camera, you can use it to get a gauge of how well (or poorly) exposed an image is. Here is the lowdown on histograms…

Funky-looking graph thingy.
The histogram is a visual representation of the tonal range of your image, from absolute black (left) to absolute white (right) with shades of gray in between. The vertical peaks that you see in the histogram represent how many pixels have that specific gray value. How high these peaks get is really of no concern, as long as you don’t push the high peaks of the histogram flush up to the right, or to the left. Many people will say that you shouldn’t have any portion of the graph pushed up against either side, but oftentimes this is impossible. Reflections, for instance, will often push a small portion of the histogram up against the right, which is only natural, as they are usually pure white. The same goes for the dark side (Luuuuke…), if there is a bright light source (again, if you are shooting in the middle of the day) it will often cause shadows to go completely black. The question you have to ask yourself is, “Is that an integral part of the picture?” In other words, are people even going to notice that part of the background, underneath those bushes, has gone completely black? Likely not. That being said, if you are taking a picture of a bride on her wedding day, and even a portion of the histogram is pushed up against the right side, you probably want to verify that it isn’t her dress that has “blown out” (a term often used to describe overexposure).
Now, just like every rule, there are exceptions. Let’s use the scenario of a full moon with dark sky around it as an example. When looking at the histogram for something like that, you would want to see a good portion pushed up against the left hand side of the histogram, because the sky around the moon would, and should, be pure black.
Using your histogram, as well as the other information that can be brought up with it on your camera, can be a great learning tool, so learn to use it to its full potential.
There is an epidemic spreading among many upstart photographers, my friends. An epidemic of sunny proportions. Huh? Well, you see, many people new to photography have a tendency to see the sun shining and say to themselves “It’s beautiful out there, nice and sunny. I’m gonna go take some pictures!” (insert sound of game show buzzer here). Wrong answer! Now, I’m not saying you can’t get good results on a sunny day, but your burdening yourself with a sizable handicap before you even get out the door. This sounds crazy, I know, but trust me, bright, midday sun and photography do not a good match make. Let me explain…
Midday sun has a very harsh quality because the sun is at its smallest in the middle of the day, and a small light source produces very harsh shadows, particularly when placed directly overhead. Couple this with the fact that the sun is also at its coolest colour value (roughly 5500 kelvin) in the middle of the day, which tends to take on a cool blue tone as opposed to a nice flattering warm tone, and this equates to a photographic nightmare. Now, there are ways to combat this, namely by adding a circular polarizer to your lens (think of this as sunglasses for your lens). But lets explore another way to help you get better pictures during the day…
Wait for a cloudy day. Yup. You heard me. The reason I say this is that the clouds act as a natural diffuser for the sun, giving you ample light, but spreading it out evenly, eliminating the harshness of direct sunlight. Here’s a real life scenario to help bring it on home… Why do we put lamp shades on lamps? Because they match the decor? No, it’s there to diffuse the light produced by the bulb (again, a very small light source) and spread it around the room. Clouds do the same thing for us outdoors. This results in nice, even lighting that takes on a more saturated look, as opposed to the washed out nastiness of direct sun. Don’t believe me? Have someone stand beside a lamp with the shade on. Now take that shade off and have a look at the difference. Pow! Shadows. Harsh shadows.
I understand why photographers want to go out and shoot when the sun is out and the birds are signing. I really do. So if you prefer to stay a fair-weather shooter, here’s a tip for you… If you don’t have a circular polarizer (as mentioned above), shoot in Manual or Aperture Priority mode and set your Aperture to f16. This is know as the “Sunny 16” rule. It gives you a great starting point for shooting in direct sunlight.
